Adding and managing team members
You can add as many team members to your Sysrev project as you like. To add members to your project, simply go to the Overview page of your project and either send the Invite link (in the box under Invite others to join) to your collaborators, or add their emails to the box under Send invitation emails. Invitees will be prompted to create Sysrev accounts before being added to the project.

Managing User Roles
There are three role settings (or permission levels) in Sysrev projects: Owner, Admin and Member. Owners and admins are able to make changes to individual permissions as follows.
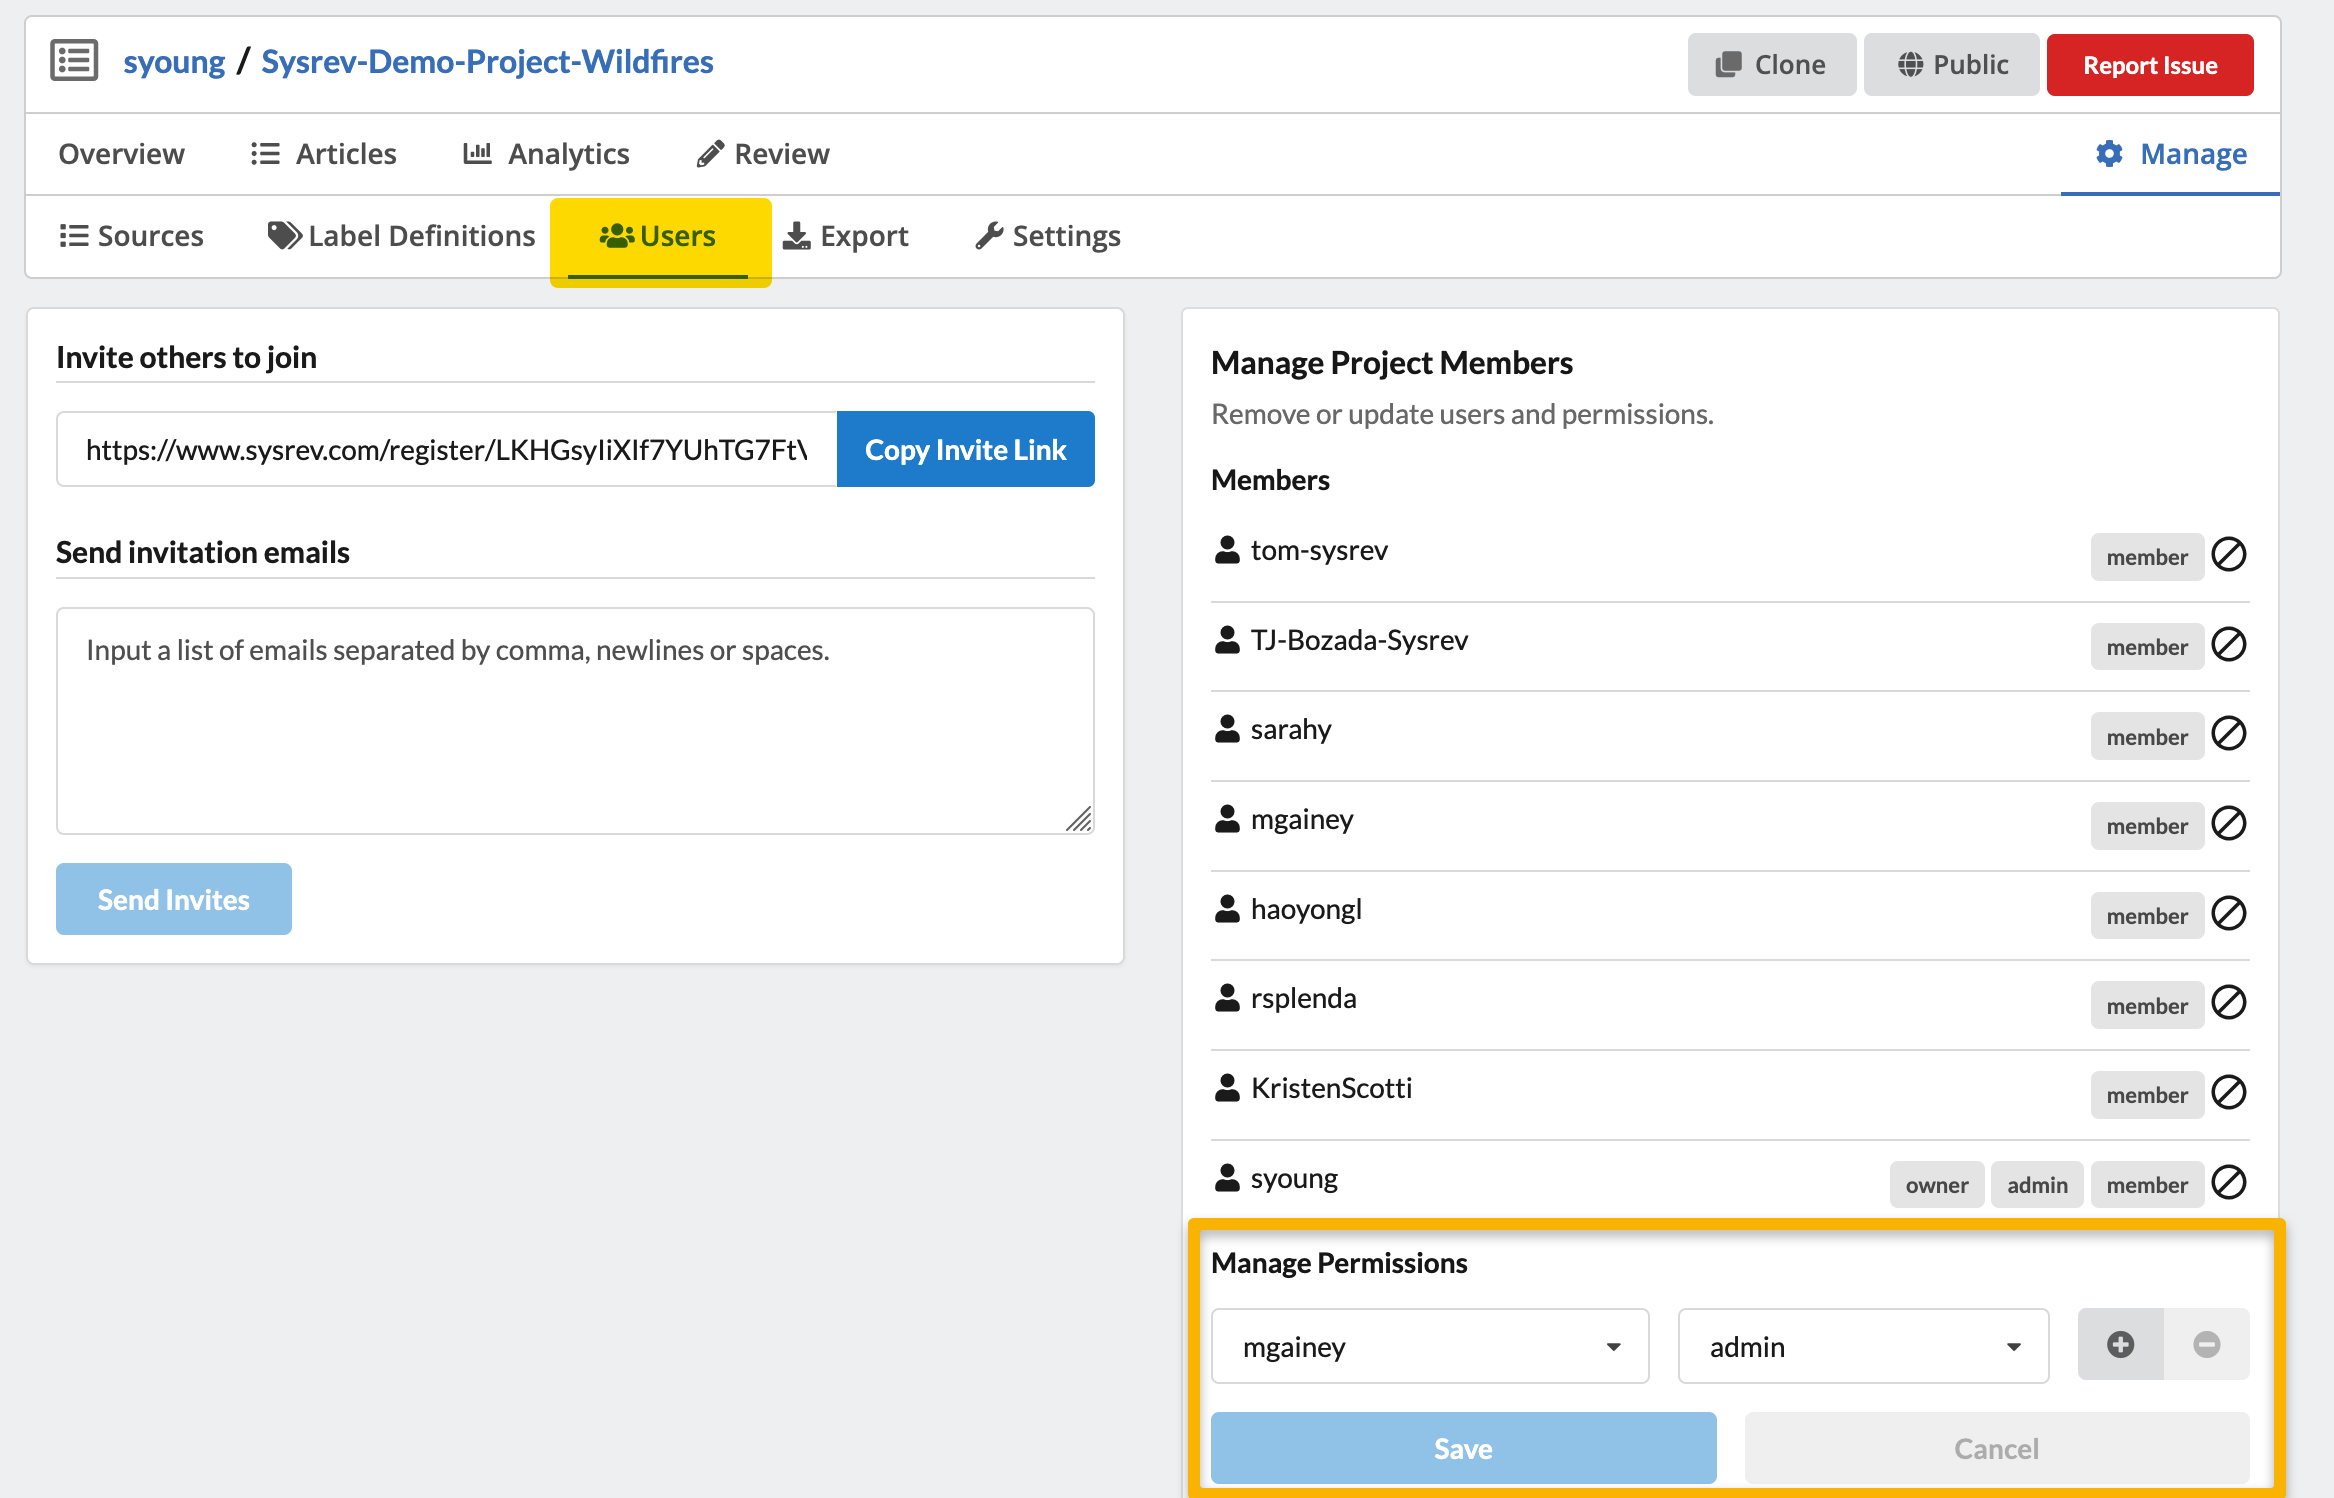
- Go to Manage -> Users
- In the Manage Project Members section, use the drop down menu under Manage Permissions to choose the member whose permissions you would like to change.
- Use the second drop down menu to change their permissions level.
- Click the plus button and then Save.
Understanding User Roles
Each role has different access levels for the various tasks and functions in Sysrev. Below is a table indicating the different tasks and features that each user role is able to access.
Task | Owner | Admin | Member |
|---|---|---|---|
| View list of project members and their privilege level | ✓ | ✓ | ✓ |
| Export data | ✓ | ✓ | ✓ |
| Review and label records | ✓ | ✓ | ✓ |
| See screener decisions in Articles tab when label blinding is on | ✓ | ✓ | x |
| Change project name | ✓ | ✓ | x |
| View analytics (for Premium or Enterprise accounts only) | ✓ | ✓ | x |
| Change privilege level of project members | ✓ | ✓ | x |
| Add new project members | ✓ | ✓ | x |
| Add and edit labels | ✓ | ✓ | x |
| Adjust privacy settings (for Premium or Enterprise accounts only) | ✓ | ✓ | x |
| Adjust blinding settings | ✓ | ✓ | x |
| View and use API key | ✓ | ✓ | x |
| Add new records | ✓ | ✓ | x |
| Disable project | ✓ | ✓ | x |
| Run Auto-labeler (Enterprise accounts) | ✓ | ✓ | x |
| Run Auto-labeler (Premium accounts) | ✓ | x | x |
| Transfer project | ✓ | x | x |
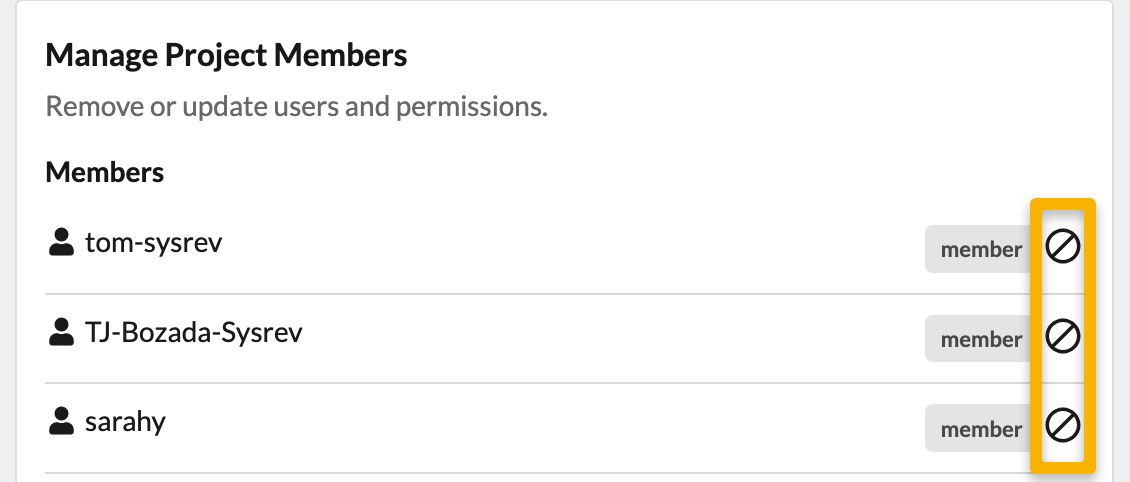
Removing Team Members
Team members can be removed from a project by going to Manage -> Users. In the Manage Project Members section, click the omit symbol next to the user's name. You can always add someone back to a project at any time.