
Project and review settings
Once you've created a project, you can adjust various settings to customize things like review workflows and user permissions. To access settings, go to Manage -> Settings.
Project settings
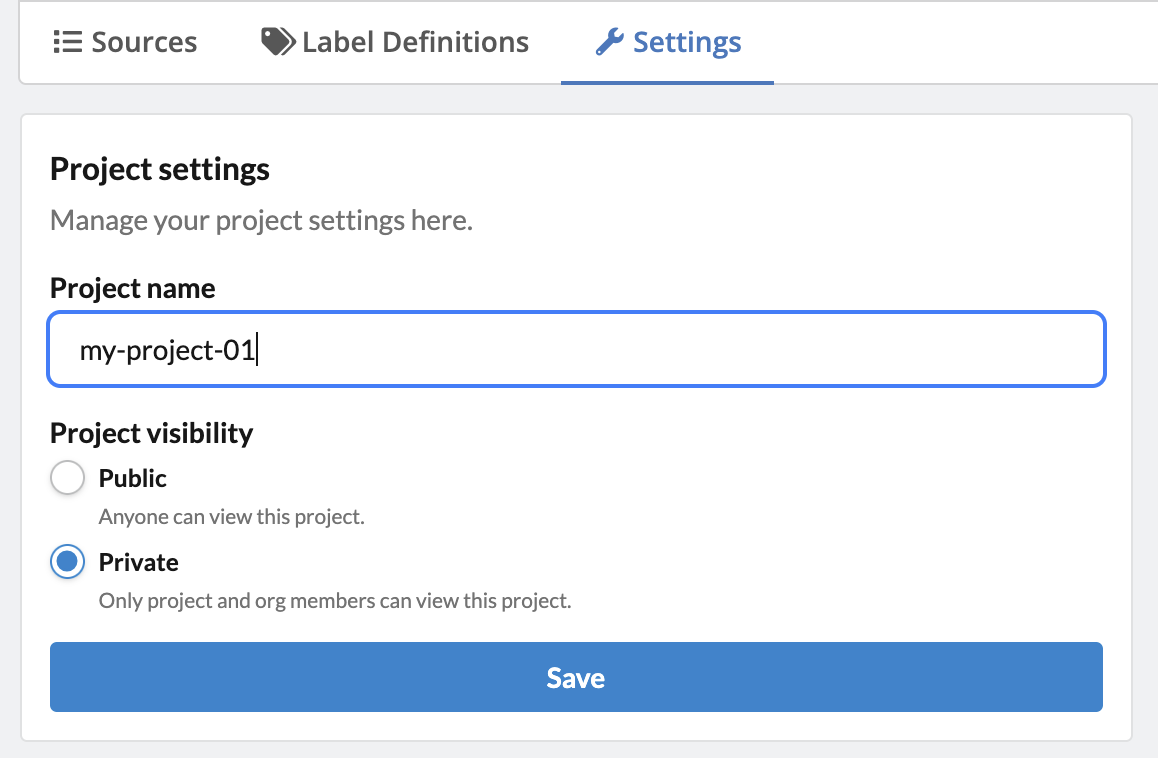
Project settings includes the project name and visibility. You can change these settings, or rename a project, at any time. Note that project names can only contain letters, numbers and dashes. No spaces or other characters are allowed.
Project highlighters
Project highlighters allows you to create lists of terms that will be highlighted in a color of your choice in the titles and abstracts of articles when in Review mode or on an article's page. A common use of term highlighting is creating a set of 'exclude terms' (highlighted in red) and 'include terms' (highlighted in green), which calls reviewers' attention to terms that might indicate an article is irrelevant or relevant, speeding up the eligibility screening process.
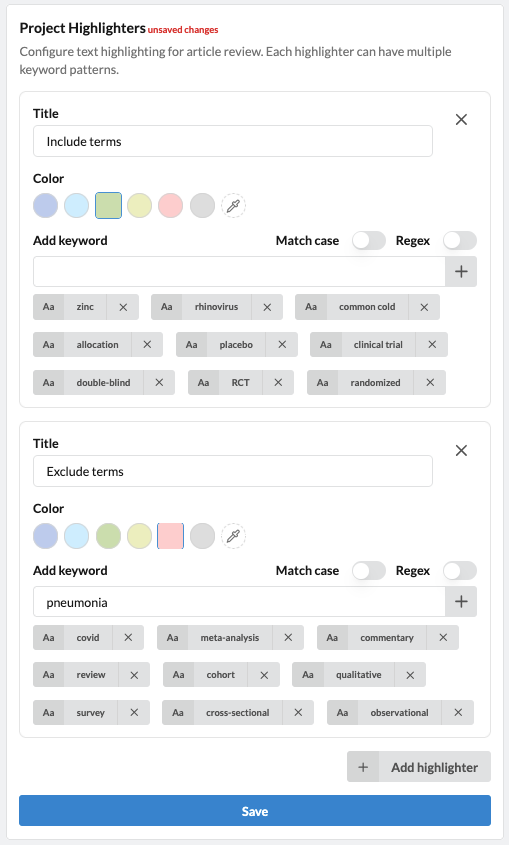
The Project highlighter is located in Manage -> Settings, below the Project settings box. Click the + Add highlighter button, give your highlighter a name (aka Title) and add terms in the Add keyword box, clicking the + button or enter on your keyboard after each term or phrase. Options include case sensitivity and regular expressions (which can be used to highlight terms or phrases based on a pattern, such as all numeric measures in microgram units). You can also use the color picker to choose custom colors. When choosing darker colors, the font of the highlighted text will automatically change to white to improve readability.
In this example, we've created an include and exclude list of highlighted terms for screening for randomized control trials of zinc supplementation of treating the common cold:
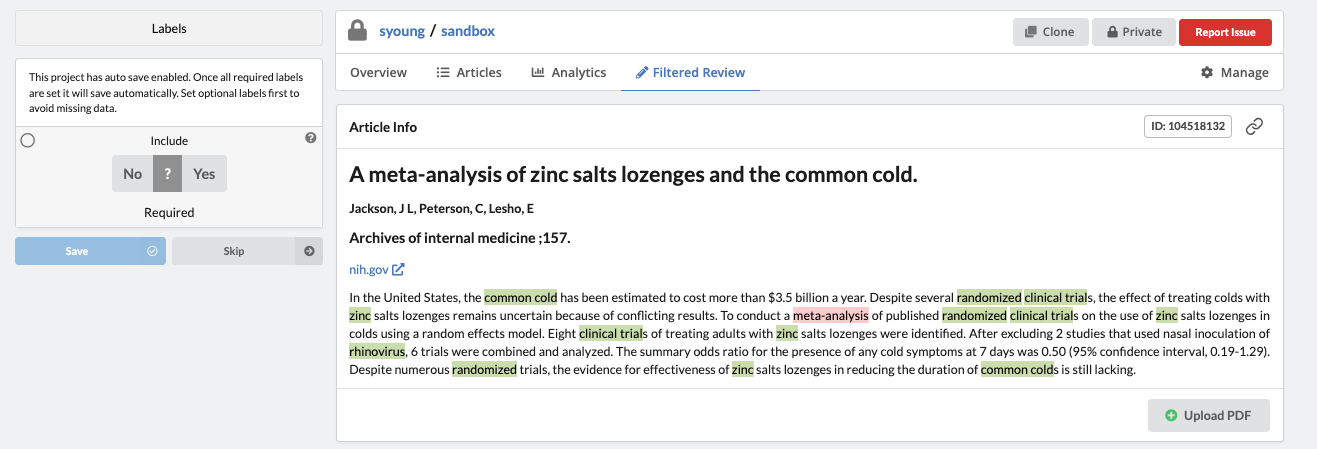
When you have completed your lists, click Save at the bottom of the box. Now our abstracts will look like this, calling our attention with red or green highlights to important terms:
You can edit these highlighter term lists at any time.
Review settings
Review settings include options to manage your review workflows and methods.
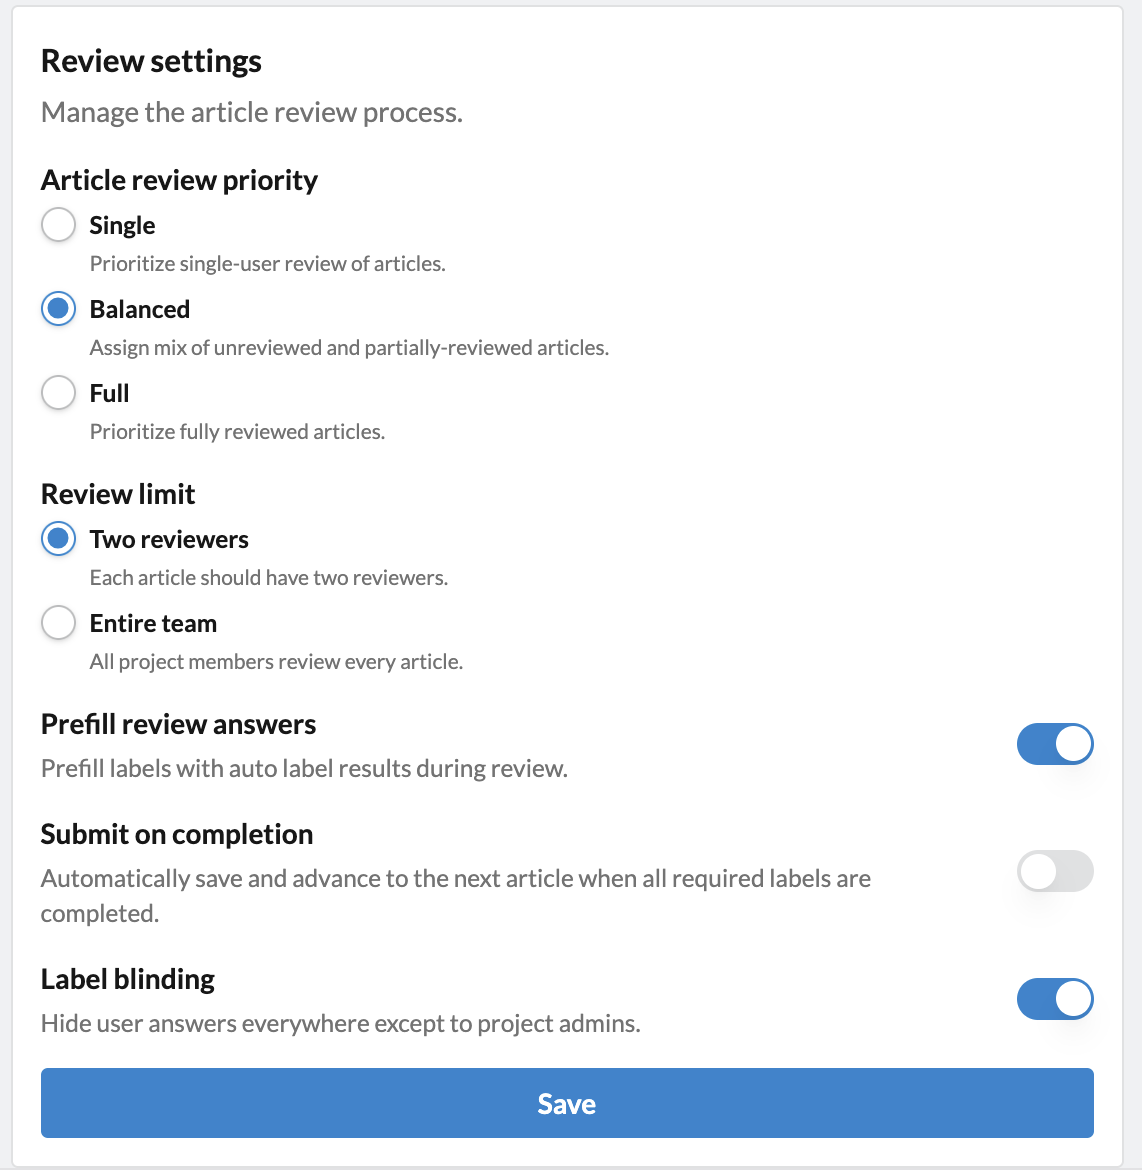
Article review priority
You can set article review priority to Single, Balanced or Full. In this way, you can create a review workflow for single reviewer screening (Single) or double reviewer screening (Balanced or Full), the typical method for most evidence synthesis reviews. The Full setting will allow you to prioritize double reviewed articles, which is a useful setting when piloting screening criteria, for example.
Review limit
You can choose Two reviewers or Entire team. Choose Two reviewers for the typical dual-reviewer screening workflow, and Entire team to enable an unlimited number of reviewers per record. To manage a single-reviewer workflow, use the Article review priority setting Single as described above.
Prefill review answers
You can allow the Auto-labeler to prefill label answers. When toggled ON, the Auto-labeler will automatically prefill the label answers for each record it processes. In this way, human reviewers can then use the Review tab to quickly review, verify, correct and approve Auto-label answers. When toggled OFF, the Auto-label will provide a label answer (found by clicking on the article and scrolling down to the section below the article metadata), but the labels themselves will not be prefilled.
Submit on completion
This setting allows reviewers to skip clicking Save after filling in label answers, expediting the review process. The answers will automatically be saved and the reviewer will be taken to the next record when all required answers are filled in. If you have some optional labels, it is best to keep this setting toggled OFF to allow reviewers to fill in optional labels as needed.
Label blinding
This setting allows for a blinded (i.e. independent) or unblinded review process. When toggled ON, only the project admins and owners can view reviewer decisions.